
CNCCookbook Customer Spotlight Extended Cut
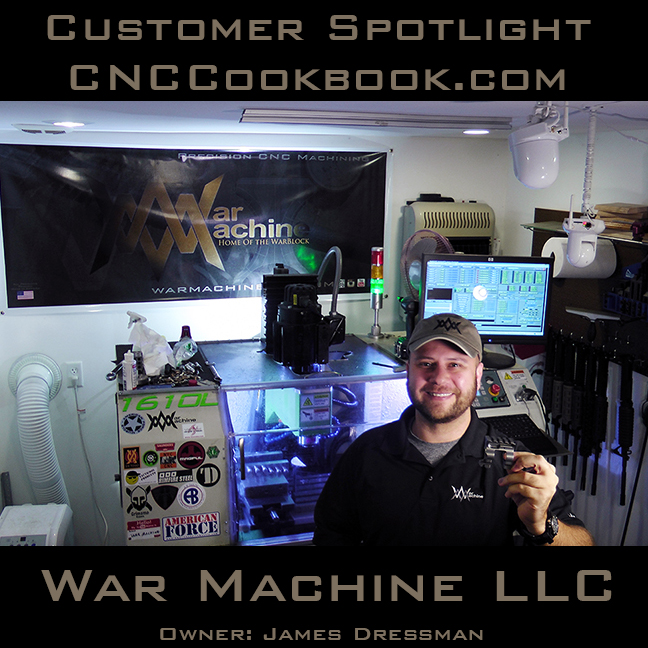
My friend Bob Warfield at CNCCookbook has a series where he is shinning spotlights on customers of his GWizard Calculator and GWizard Editor software products. A very cool idea! Along with my buddy Brad Martin of TacticalKeychains getting the spotlight I was fortunate enough to be one of the ones to be featured in a Q&A style write up about War Machine LLC and how it got its start.
You can check it out here by clicking on the image below
However there is much more to the story than that so I have a bit more of a detailed write up in a more prose format that I would like to share with you below.
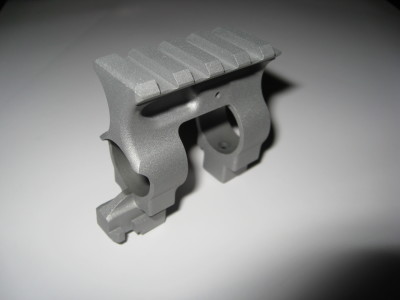
In 2005 I had no idea what it took to make a product from scratch, manufacture it, and bring it to market, but I figured it couldn’t be that hard. Well, I was about to find out hard, how hard it could be, the hard way. Being an avid firearms enthusiast since the age of 9, hunter, and shooting competitor, I began some serious new AR15 builds when I came across a curious problem involving the rifle’s gas block. In short I recognized a problem with the existing front sight base and the advent of the increasingly popular optics and red dot sights. I thought about it for a while and searched high and low for a solution but found none. Every product on the market that allowed for a flip down front sight for a clear sight picture was either too low to accommodate the vast majority of sights, made of comparatively soft aluminum, made of steel but too heavy and clunky, looked like it was hacksawed from a railroad tie, did not have a sling attachment point, too wide to fit inside of a modified forearm rail, did not have a functional bayonet lug, or was not pinned to the barrel. Nothing out there satisfied all of the ideal criteria for me as somewhat of a functional perfectionist.

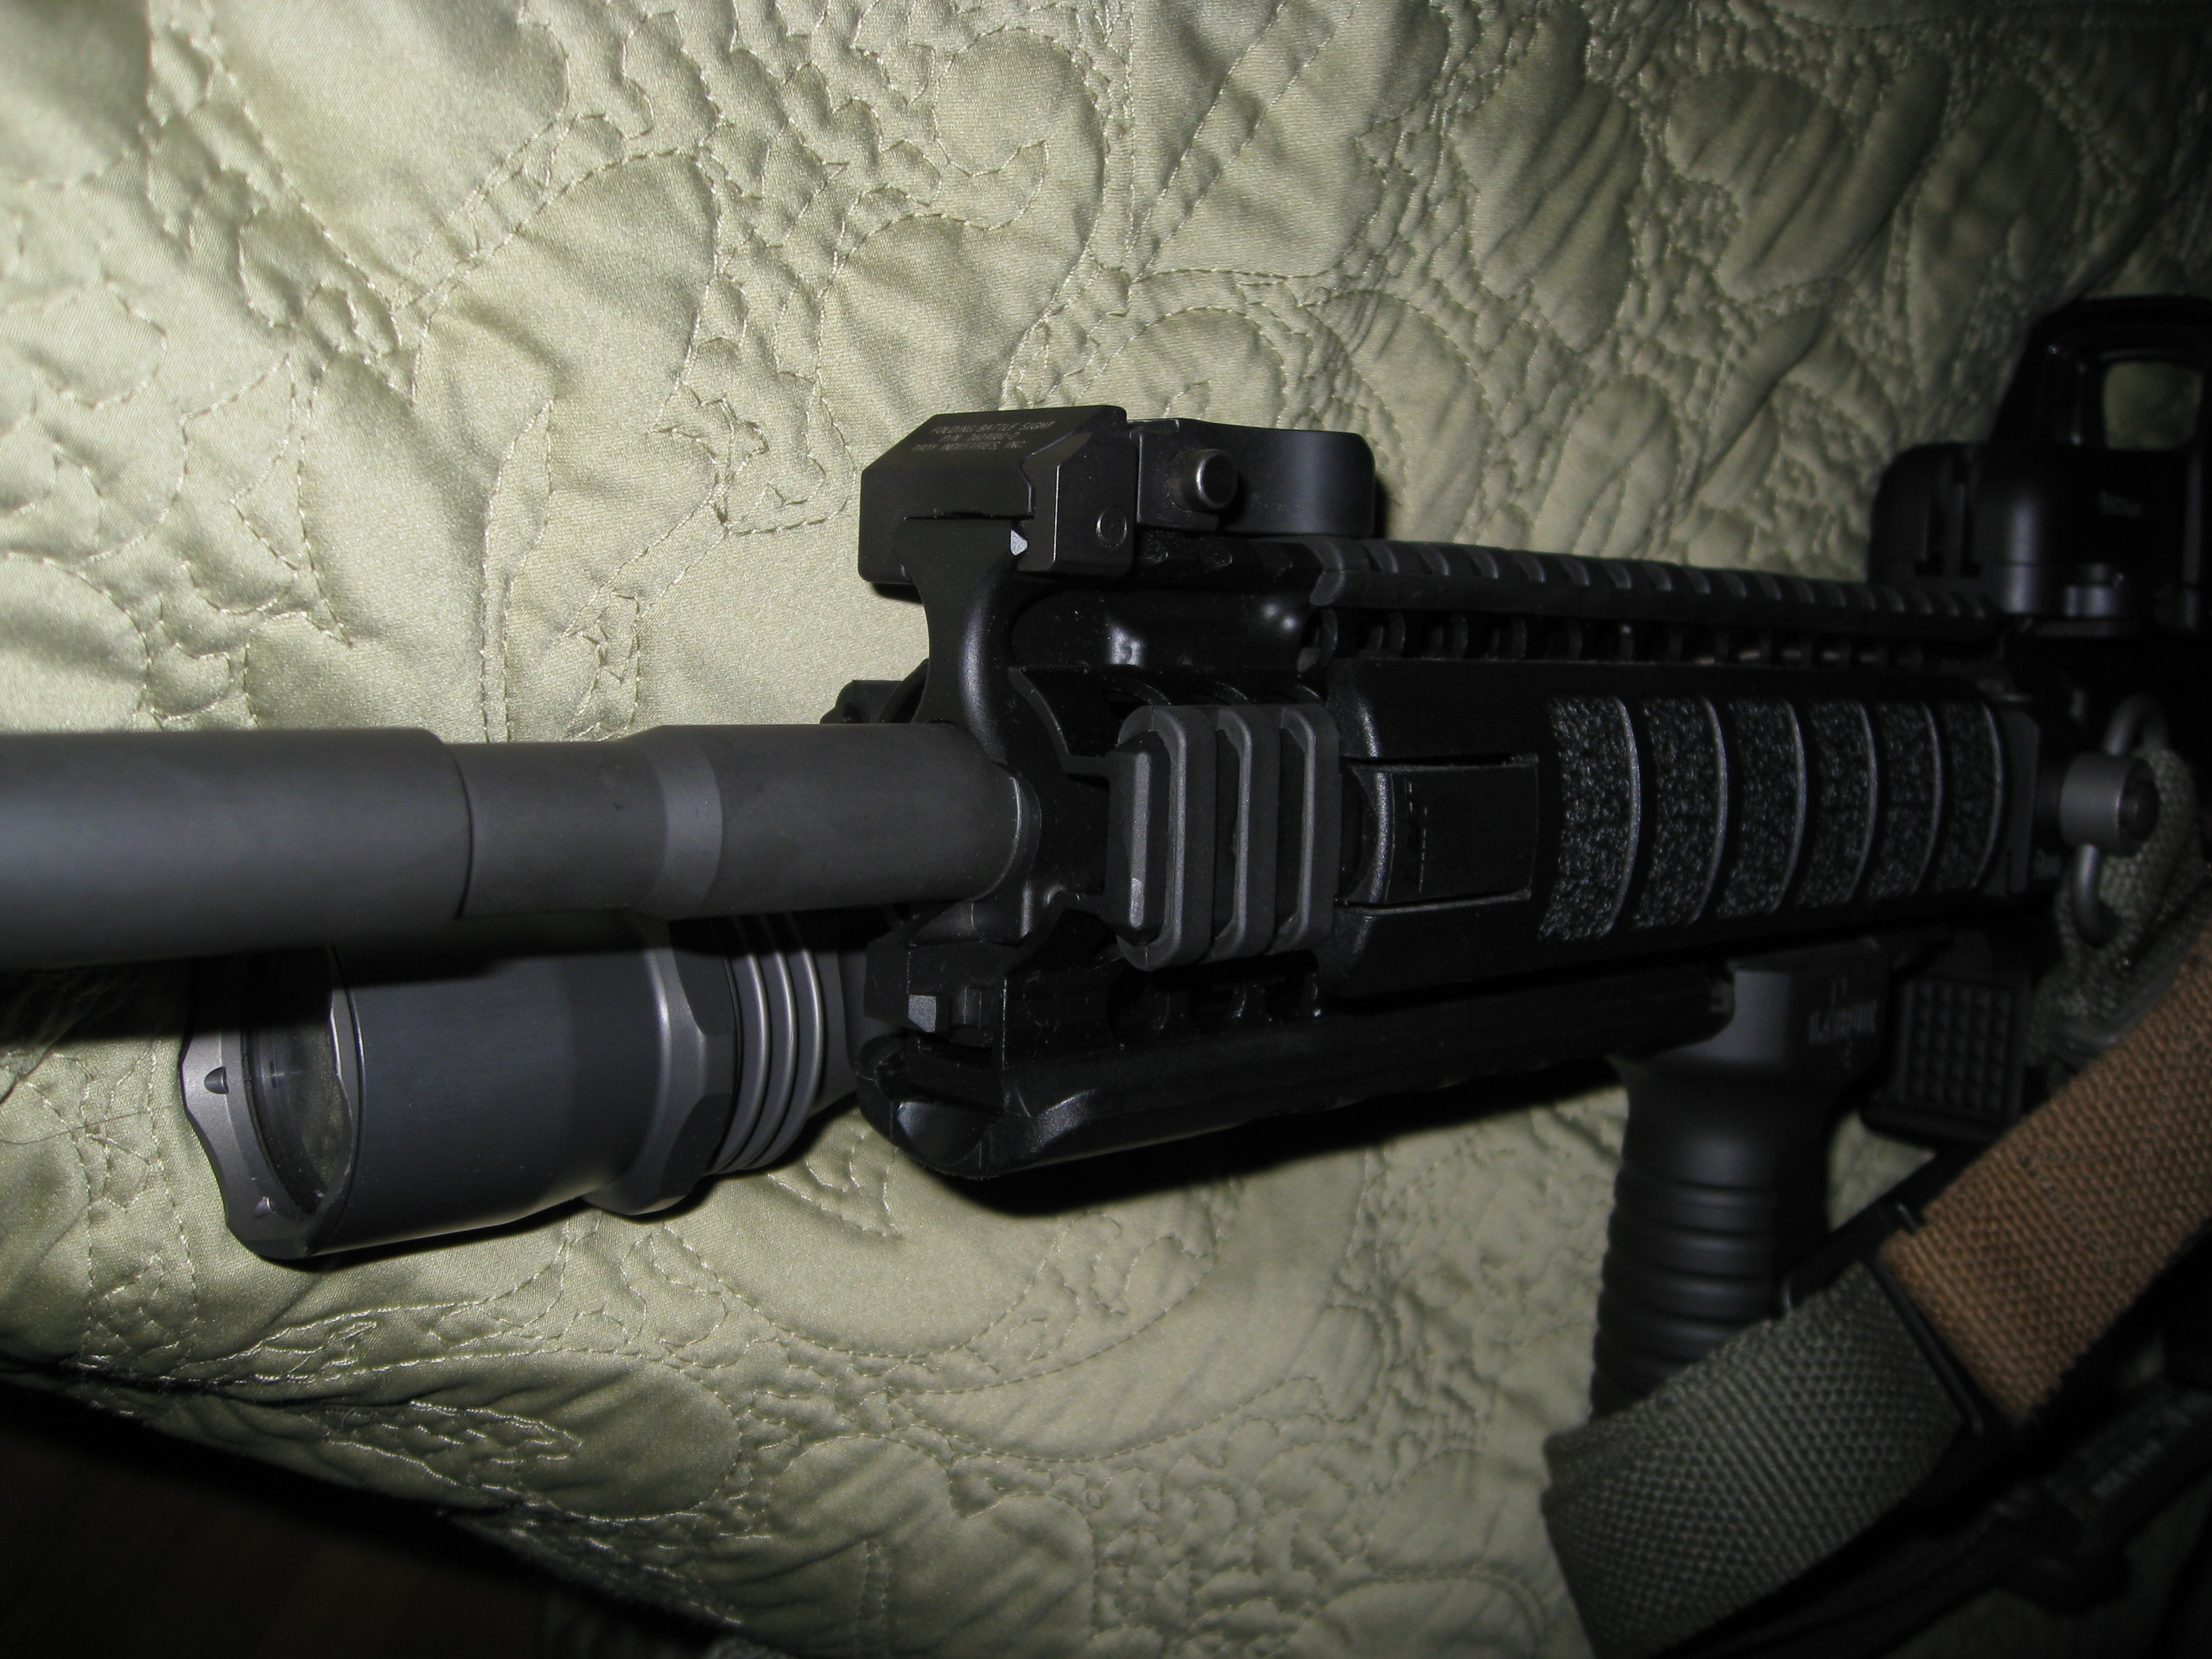
I thought about how hard it would be to make one in my garage from scratch and soon concluded that it would probably be really really easy…ahem. Over the next few months I couldn’t shake the idea and began trying to make prototypes out of paper, then plastic, then plaster of Paris. I kept searching for the perfect product during this time hoping it would turn up so I could forget about it and spend my evenings doing something else. I started drawing up plans on graph paper to maybe give to a machinist somewhere and hope he wouldn’t use it wipe his spindle bore or something. At some point I heard about CAD and tried coming up with a design using eMachineshop.com but that never really went anywhere, especially when I saw how much a prototype would cost. Later I somehow got ahold of some old, outdated, decrepit copy of AutoCAD and a few books from the library on how to use it. Here is where I modeled the basic design over the course of a few months. With a thumb drive full of binary code I consulted with my alma mater university engineering dept. to have a 3D printed prototype made, but they seemed put off that it was a gun part and were reluctant to get involved. Next I searched some sites like MFG.com for a shop that would make it with an imposed NDA. Ding I found one that was in America and didn’t require a kidney as payment, unlike most of the quotes I got. I had the first prototype made, or rather the first thing made. Apparently when I sent the shop the file they had machined the wrong part, it was still a gas block but it was a goofy design that I was playing with in a hidden layer and not my final design…and that’s what I got for many hundreds of dollars and many months wait. I tried it anyway and it didn’t work at all, the rifle would not even function. Which was weird because I had used more than enough duct tape to secure the rifle to the broken pallet while pulling the trigger from behind a hay bale with about 30ft of high grade bailing twine. I took what I could learn from that expensive chunk of garbage and made some design tweaks and tried to get another one made. That one turned out right to my design but not so good either, still I redesigned, tweaked dimensions, and upgraded the tape and twine to a bench clamp and kite string. Finally I got the one you see in much of my web art mounted on the carbine. It turned out rough but much better and seemed to fit OK. I Parkerized it in my garage with some chemicals I got from Walmart and pinned it to my barrel with a drill press that I bought on sale from Sears just for this occasion. Oh, and I did all of this the night before leaving for a professional carbine training course where I would be firing about 3k rounds at high intervals and taking only this rifle. It was a brilliant plan and nothing that I could think of could possibly go wrong.

Well unbelievably, shockingly, impossibly, I was right, nothing went wrong! I almost forgot that I was firing a science experiment until about the 4th or 5th magazine down range. During the course I had some instructors come up to me in the live fire house and ask me what kind of gas block I was using or where they could get one, being especially intrigued that it was pinned to the barrel and not clamped or set screwed as is typically found. They thought I was joking when I said “I made it and you can’t get one.”

During the next few years I went to numerous rifle courses like this one, participated in numerous 3-gun competitions, and did lots of shooting on my own with no real hiccups related to the gas block design! Since I modeled the gas block from scratch with some old calipers it did however always have a slight gas leak around the gas tube because the original model I made specified a gas tube bore that was about 0.002” over the size it should have been. As a result it sometimes malfunctioned with extremely under-powered ammo. Otherwise when using good ammo it functions just fine and in fact it is still on my rifle and going strong to this day. Upon positively identifying the source of this occurrence I corrected that lone error and now thought it was time to level up and have more made to sell. I tried to get the original shop that made the prototype to make more but they declined. Apparently it was waaay too hard to machine and I was told that they were piling up too many broken endmills on it. I bounced around trying to find a shop to make them with no success, again mainly because the design was too complicated to machine which would make them too costly. Too costly was an understatement. Trying to find a manufacturer was proving futile. Most wouldn’t get back with me, the ones that did were very negative on trying to make them, and some were straight up rude.

During this time I was still looking for a product that had all of these features so I could finally not feel “obligated” to create it. Not finding any I began to wonder if I was missing something, maybe there was some reason no one made it, after all it seemed to me to be a no-brainer so maybe I really didn’t have a brain. I really couldn’t think of any and that perplexed me even more. I finally said “F it, I’m going to make it myself and see what happens.” “Now where do I start…there must be some sort of doohickey that makes things like this,” I thought. My only experience with milling machines happened when I worked part-time at Toyota during college servicing welding robots. We were replacing a large copper cable on a robot that was malfunctioning. Our test equipment showed the cable was OK except for the terminal being pitted from electric arcing. Instead of scraping the extremely expensive cable we walked over to an area that had a HUGE drill press, at least that’s what I thought it was at the time. It was actually a CNC converted Bridgeport. We gave it to some machinists and told them what we wanted done. They whipped up a quick program, put the cable terminal in a vise, and then the machine came alive for about 10sec. facing off the terminal to a smooth flat surface. I remember I was highly intrigued staring at the mirror like copper surface as we walked it back to the robot thinking of all the possibilities that this new-fangled witchcraft represented. My first passion was a desire to make silencers but that never materialized. I was lost even after frequenting the DIY section on silencer forums and just being bewildered by the tools of the trade.
Back to the present story I started a frenzied research endeavor on-line to discover just what sort of wizardry was required to sculpt metal in such a manner. I inquired about taking some college courses in machining but I worked full time and it just wasn’t in the cards. That’s when I stumbled on CNCCookbook. Here I spent many hours reading everything I possibly could about this mysterious and fascinating field that I had never given much serious thought about except always thinking it was likely unattainable to the common man. While reading through all of the blog articles, something clicked and I was finally starting to get it. All of the reading there was paying off. Suddenly the prospects of making these crazy gas blocks that were otherwise beyond the realm of mere mortal machinists didn’t seem so distant and enigmatic. My first real money-on-the-barrel-head commitment was buying a $60 set of Gibraltar strap clamps on sale from Enco. I thought “Well it’s too late to go back now,” but in reality I had already passed the point of no return.
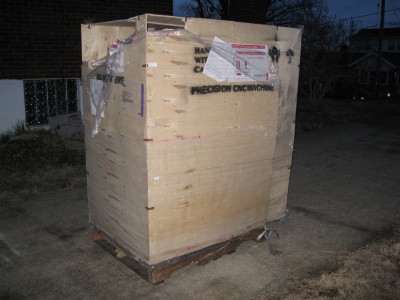
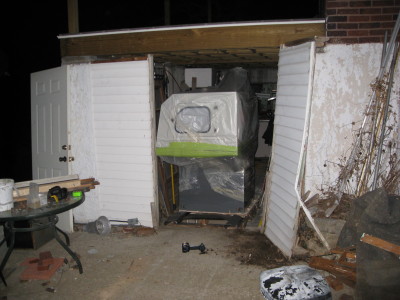
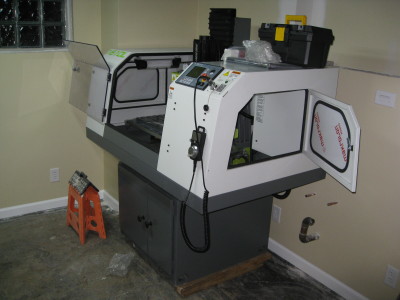
After a ton of research I took the plunge in 2010 and ordered a brand new CNC mill, a 3hp Mikini 1610L, for fear of the complexity of converting one or buying a used lemon. The thought of buying a NEW lemon, with no real support, from a company that would promptly go out of business after my purchase, had never occurred to me, especially after all of the glowing reviews I had read online. When I ordered it I was still lost as to how to operate it, what programs I would need, or what tooling or tool holders to use. I figured now was the time to act, not over analyze it, I would figure out the details at a running pace along the way. In addition to buying a mind-bogglingly expensive CAD/CAM package I had also purchased Gwizard CNC Calculator and it has been invaluable to getting the correct cutting parameters without burning through piles of endmills, which I did anyway but that’s a different story. Months later when the machine was delivered I ran into a whole separate saga that I won’t get into here but it is chronicled in an article here at Hackaday.com. Three years later I was finally ready to use the now disdainfully nicknamed war machine (if that isn’t an attention getter). The first project I decided to tackle was unintentional, but I had stumbled on some very nice pieces of grade 5 titanium for a good price because they were odd sized scraps. I made some novelty precision dice with a decorative box, and that project, code named Luxor, has been written about right here on CNCCookbook.
After getting a feel for the new motor and electronics I was ready to attempt what every other machine shop I had contacted refused to do. It was either going to be an epic success or a complete failure, mediocrity was not an option. I didn’t care, I was ready to give it my best, if for nothing else to just rid myself of this burning desire to make the best most perfect taper pinned receiver height same plane Picatinney railed AR15 gas block with bayonet lug and QD sling swivel socket, ever made. Project WarBlock was a go. It was a daunting prospect especially for a full time father of a little boy and an infant to care for, with no time, and even less money. Again I won’t go over it in detail, as I already did that on my blog here, and my Youtube channel here, my Facebook page here, and my most active venue Instagram here, but I think I gave it a run for its money. You can let me know what you think! After I made the first run of WarBlocks, it dawned on me that I have to pin these onto barrels myself. I can’t expect the customer to do this highly technical and potentially perilous operation! Not an easy task to say the least. I think the first few barrels I did had me rethinking the whole predicament I had gotten myself into. I lost more money on broken drills and reamers per barrel than I was grossing in revenue from the sale itself! I however knew it had to be done so I chalked it up to tuition and I worked at it. Now I’ve turned barrel pinning into a science and in fact I might be the only person that actually CNCs this process, a process traditionally done with a manual Bridgeport.

There may be a million ways to skin a cat but there are far fewer ways to do it efficiently and with superior results…and with less angry meowing. I’m still working feverishly refining the manufacturing techniques for the WarBlock and its variations hoping to one day take the design to a new level and make a bullet-proof adjustable version that would be good enough to be considered standard operating equipment on any AR15. Although judging by the gushing feedback I get from virtually every customer I have, I think the WarBlock is already there. Though the WarBlock is about as perfect as it can be at this point, refining the process to be faster, more precise, easier on tooling, tweaking tolerances, getting the perfect nitride finish, seeking dealerships with component manufacturers, sourcing raw materials, and finding the best tooling, etc. has been the name of the game since the beginning and is definitely an ongoing process and not a destination. I’ve had great experiences with Speedy Metals, Maritool, Bob at CNCCookbook, Tormach, and especially Carl from Lakeshore Carbide who really took an interest is seeing this project succeed. It’s not all about machining though, penetrating the AR15 market without lots of capital is a tough road. Website development, SEO, marketing strategies, etc. are all areas way outside my field of expertise but things I work on a little everyday trying to get better and better. I have other product ideas in mind and am excited to dive into them but they will have to wait their turn, I am still up against the clock more than ever and still trying to make due with a small slow mill, limited tooling, and limited space. The important take away is that even with both hands tied behind your back it is still possible, you just have to hop a little. One thing is for sure, the future will require bigger, badder, and faster cat skinning machines…and a bigger shop!

It is interesting how you never give up. Even not knowing about machining you took the risk. Very inspiring story James
Thanks Jairo! There is a fine line between foolhardy and bravery, and which it is considered is determined by the outcome. LOL!