
WarBlock Receiver Height AR15 Gas Block CNC Machining (8): roughing, finishing, and bayonet test cuts
While I’m waiting on some more tooling I decided to go back and revisit some of the operations that I wasn’t completely happy with. My goal here was to massage the programs a little to optimize tool life, surface finish, cut down on chatter, and minimize cycle time. First I decided to make things more aggressive across the board beginning with 0.375″ endmill facing. That endmill amazes me, it does whatever I tell it and doesn’t give a crap, it just loves to eat. I had read an article by Sandvik Coromant suggesting that the optimum efficiency width of cut is 70% of the cutters diameter. I don’t know if that applies to all endmills but that is supposed to offer the maximum material removal rate without over loading the flute edge by getting into a negative rack geometry. So whenever I need to maximize MMR I try not to exceed a 70% WOC to keep the rake positive. That is what I did here. I changed the WOC from 53% to 70% and not only did it still sound great but it also eliminated a roughing pass. The endmill also still looks brand new.
The next optimization attempt was to change the full retract peck cycle of the drill to simply a short breakchip peck thinking this would save some time. This is one where the drill does not fully retract out of the hole it’s drilling but instead backs out slightly, just enough to break the chip. Concerned about chips packing in the flutes and not working there way up and out of the hole I also slightly increased the feed rate to create a thicker and more brittle chip that might break easier than the long springy ones like before. This operation worked generally but I could sense the strain starting to mount when the hole started getting too deep. This was confirmed as the drill broke through the bottom of the part releasing some smoke. Too much heat was generated. I will go back to the full retract but keep the increased feedrate and in the future I might invest in a parabolic drill which likely wouldn’t need the full retract peck cycle as they are designed to clear chips much easier.
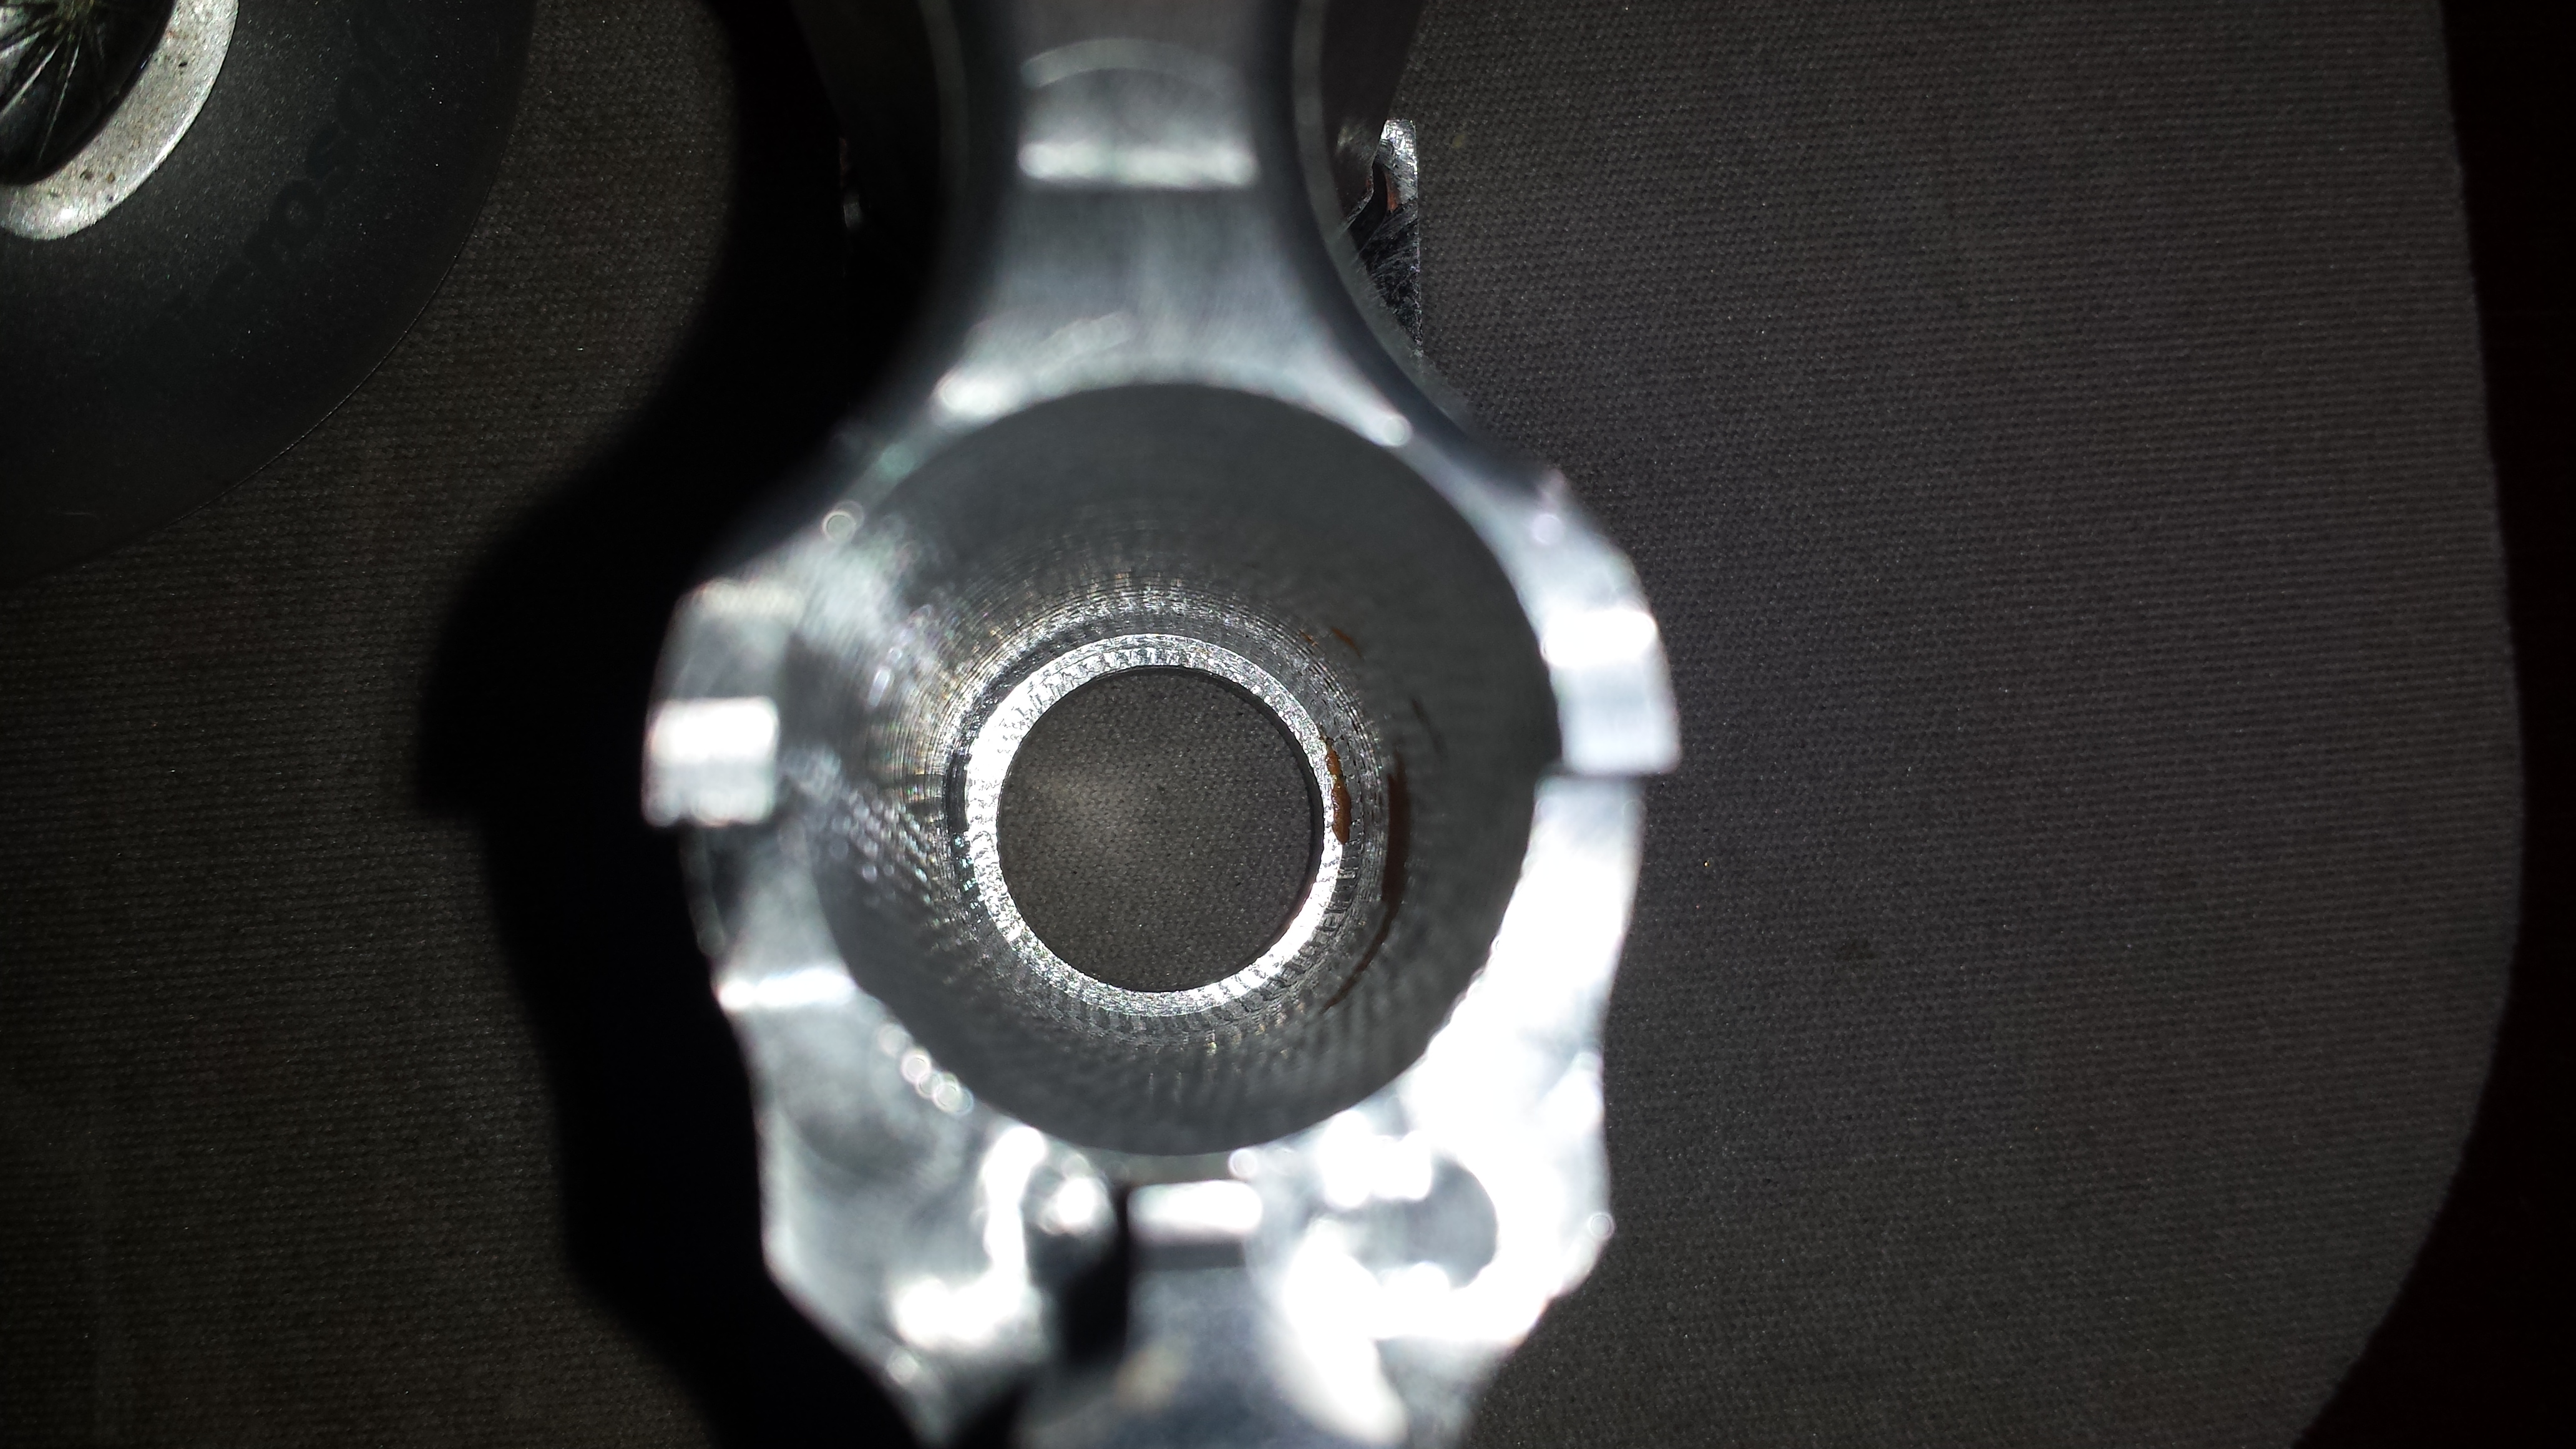
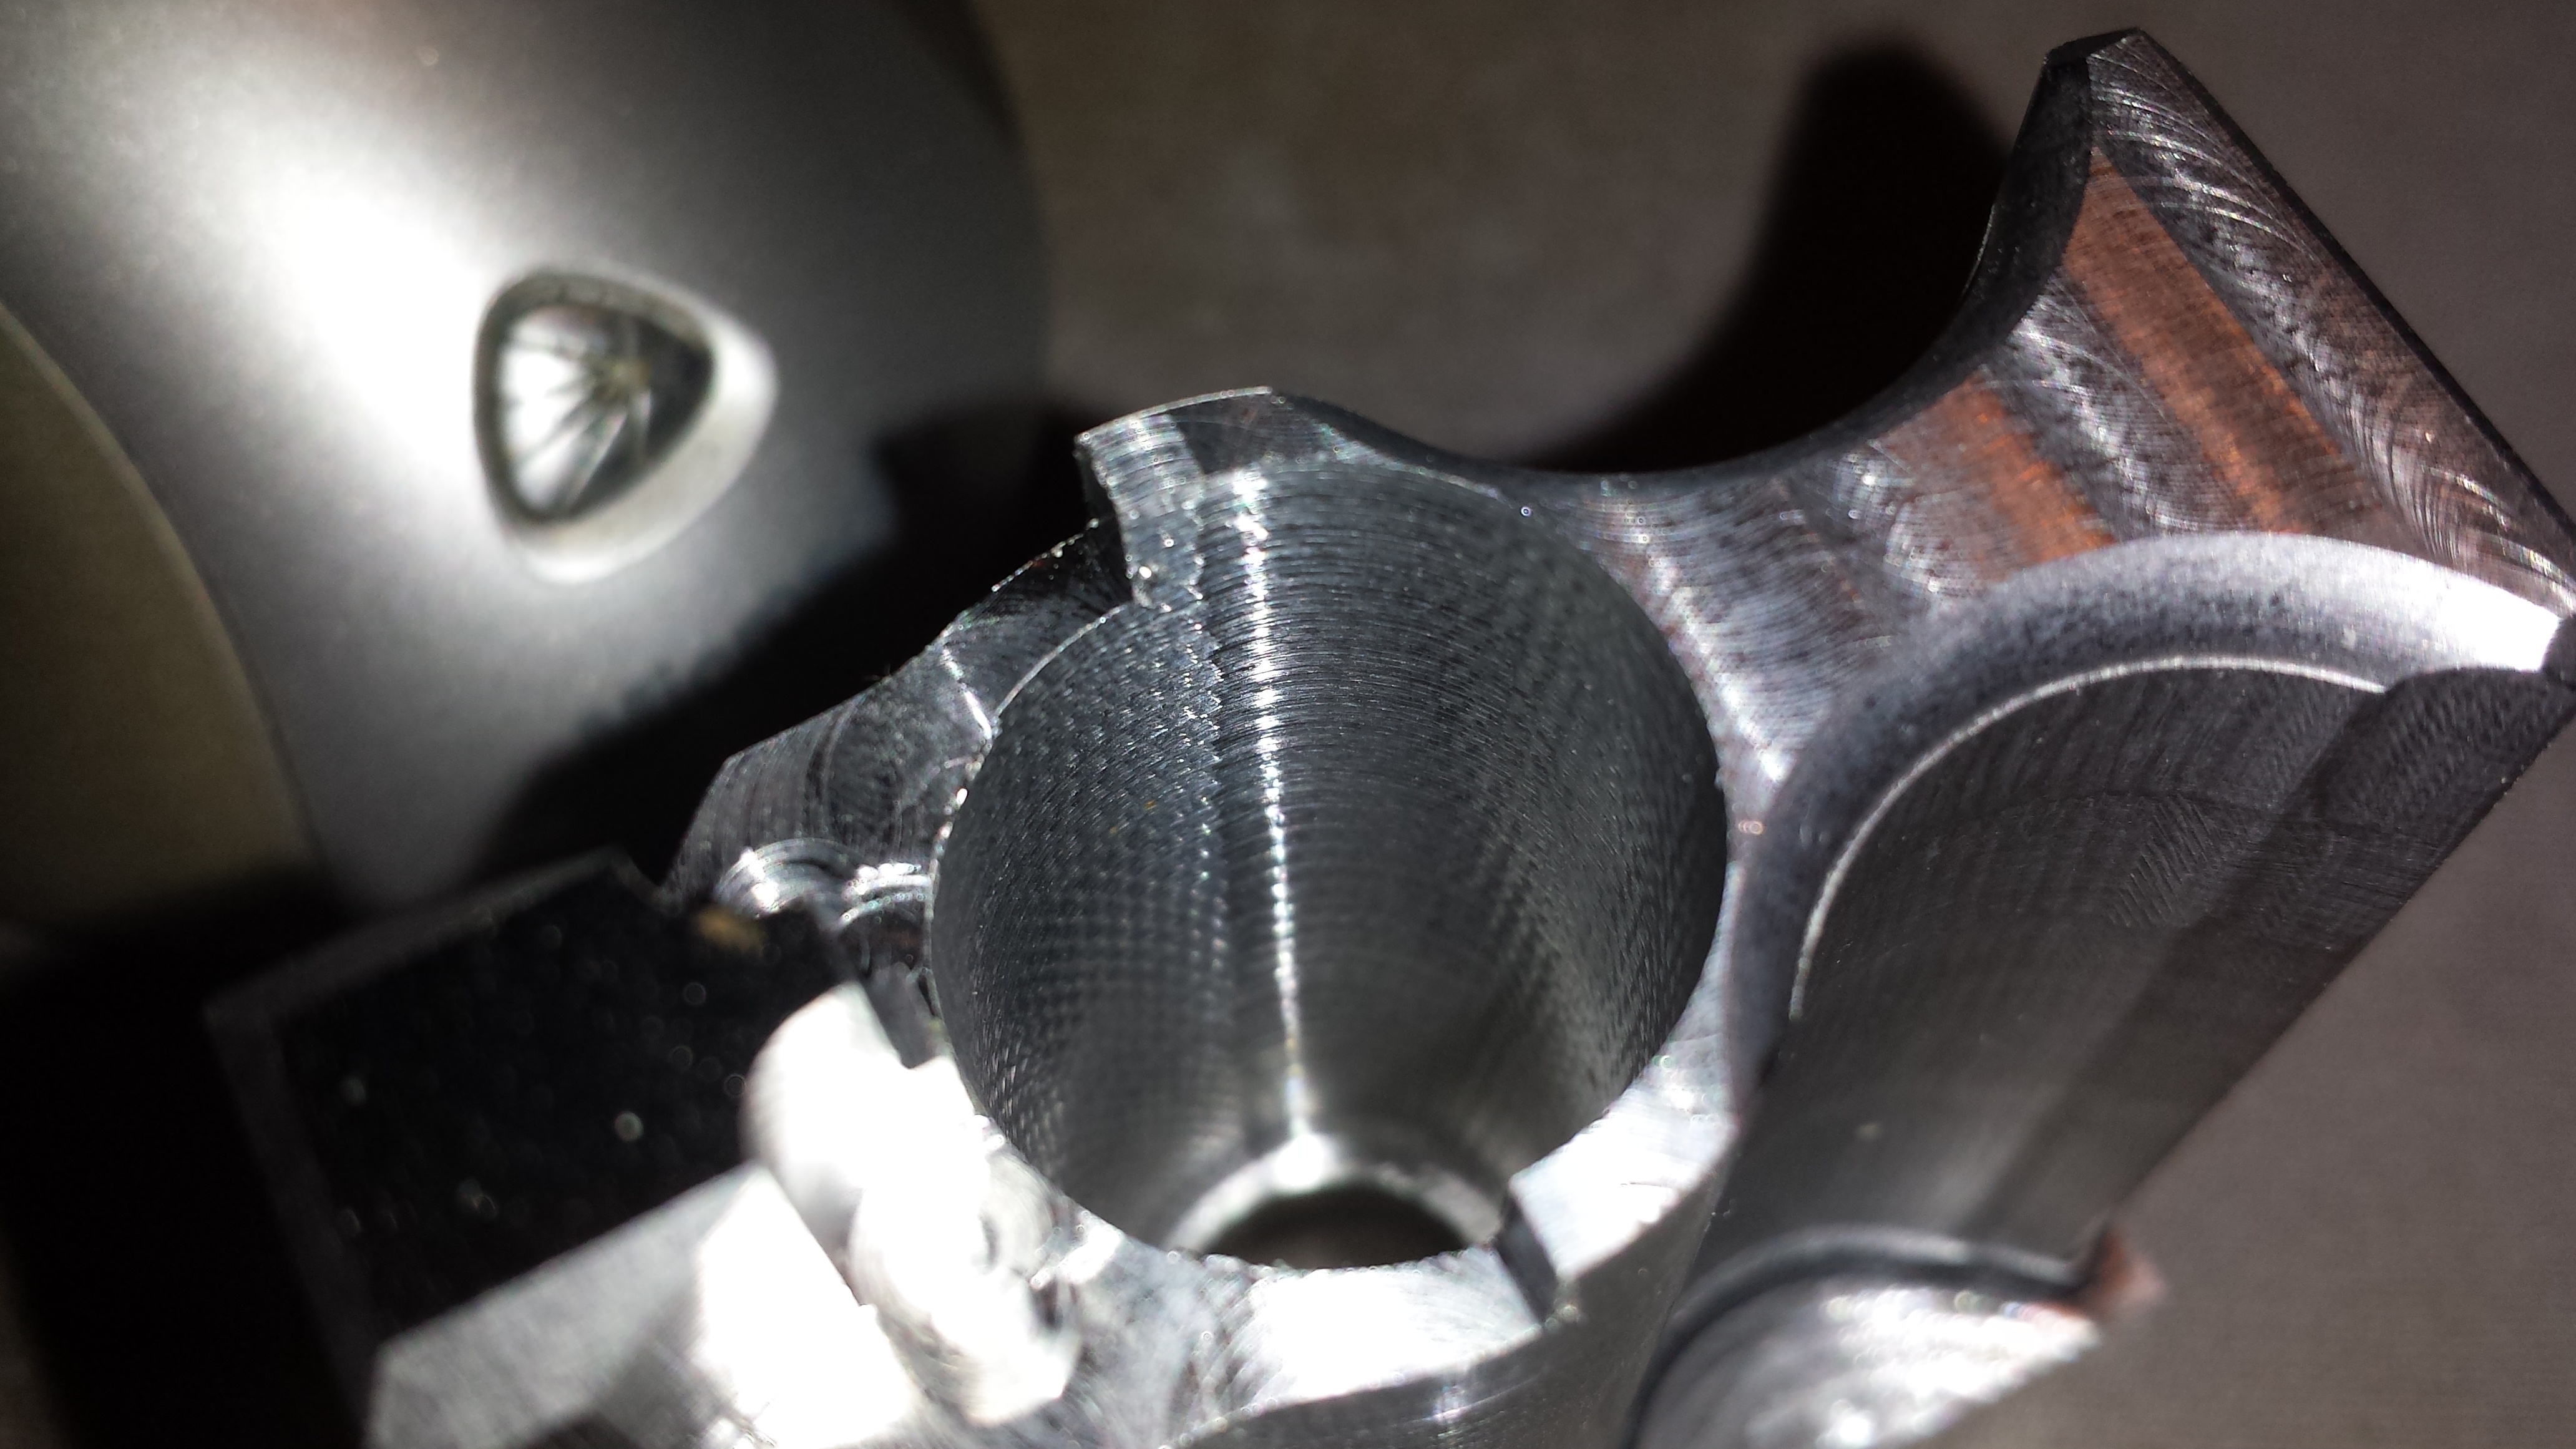
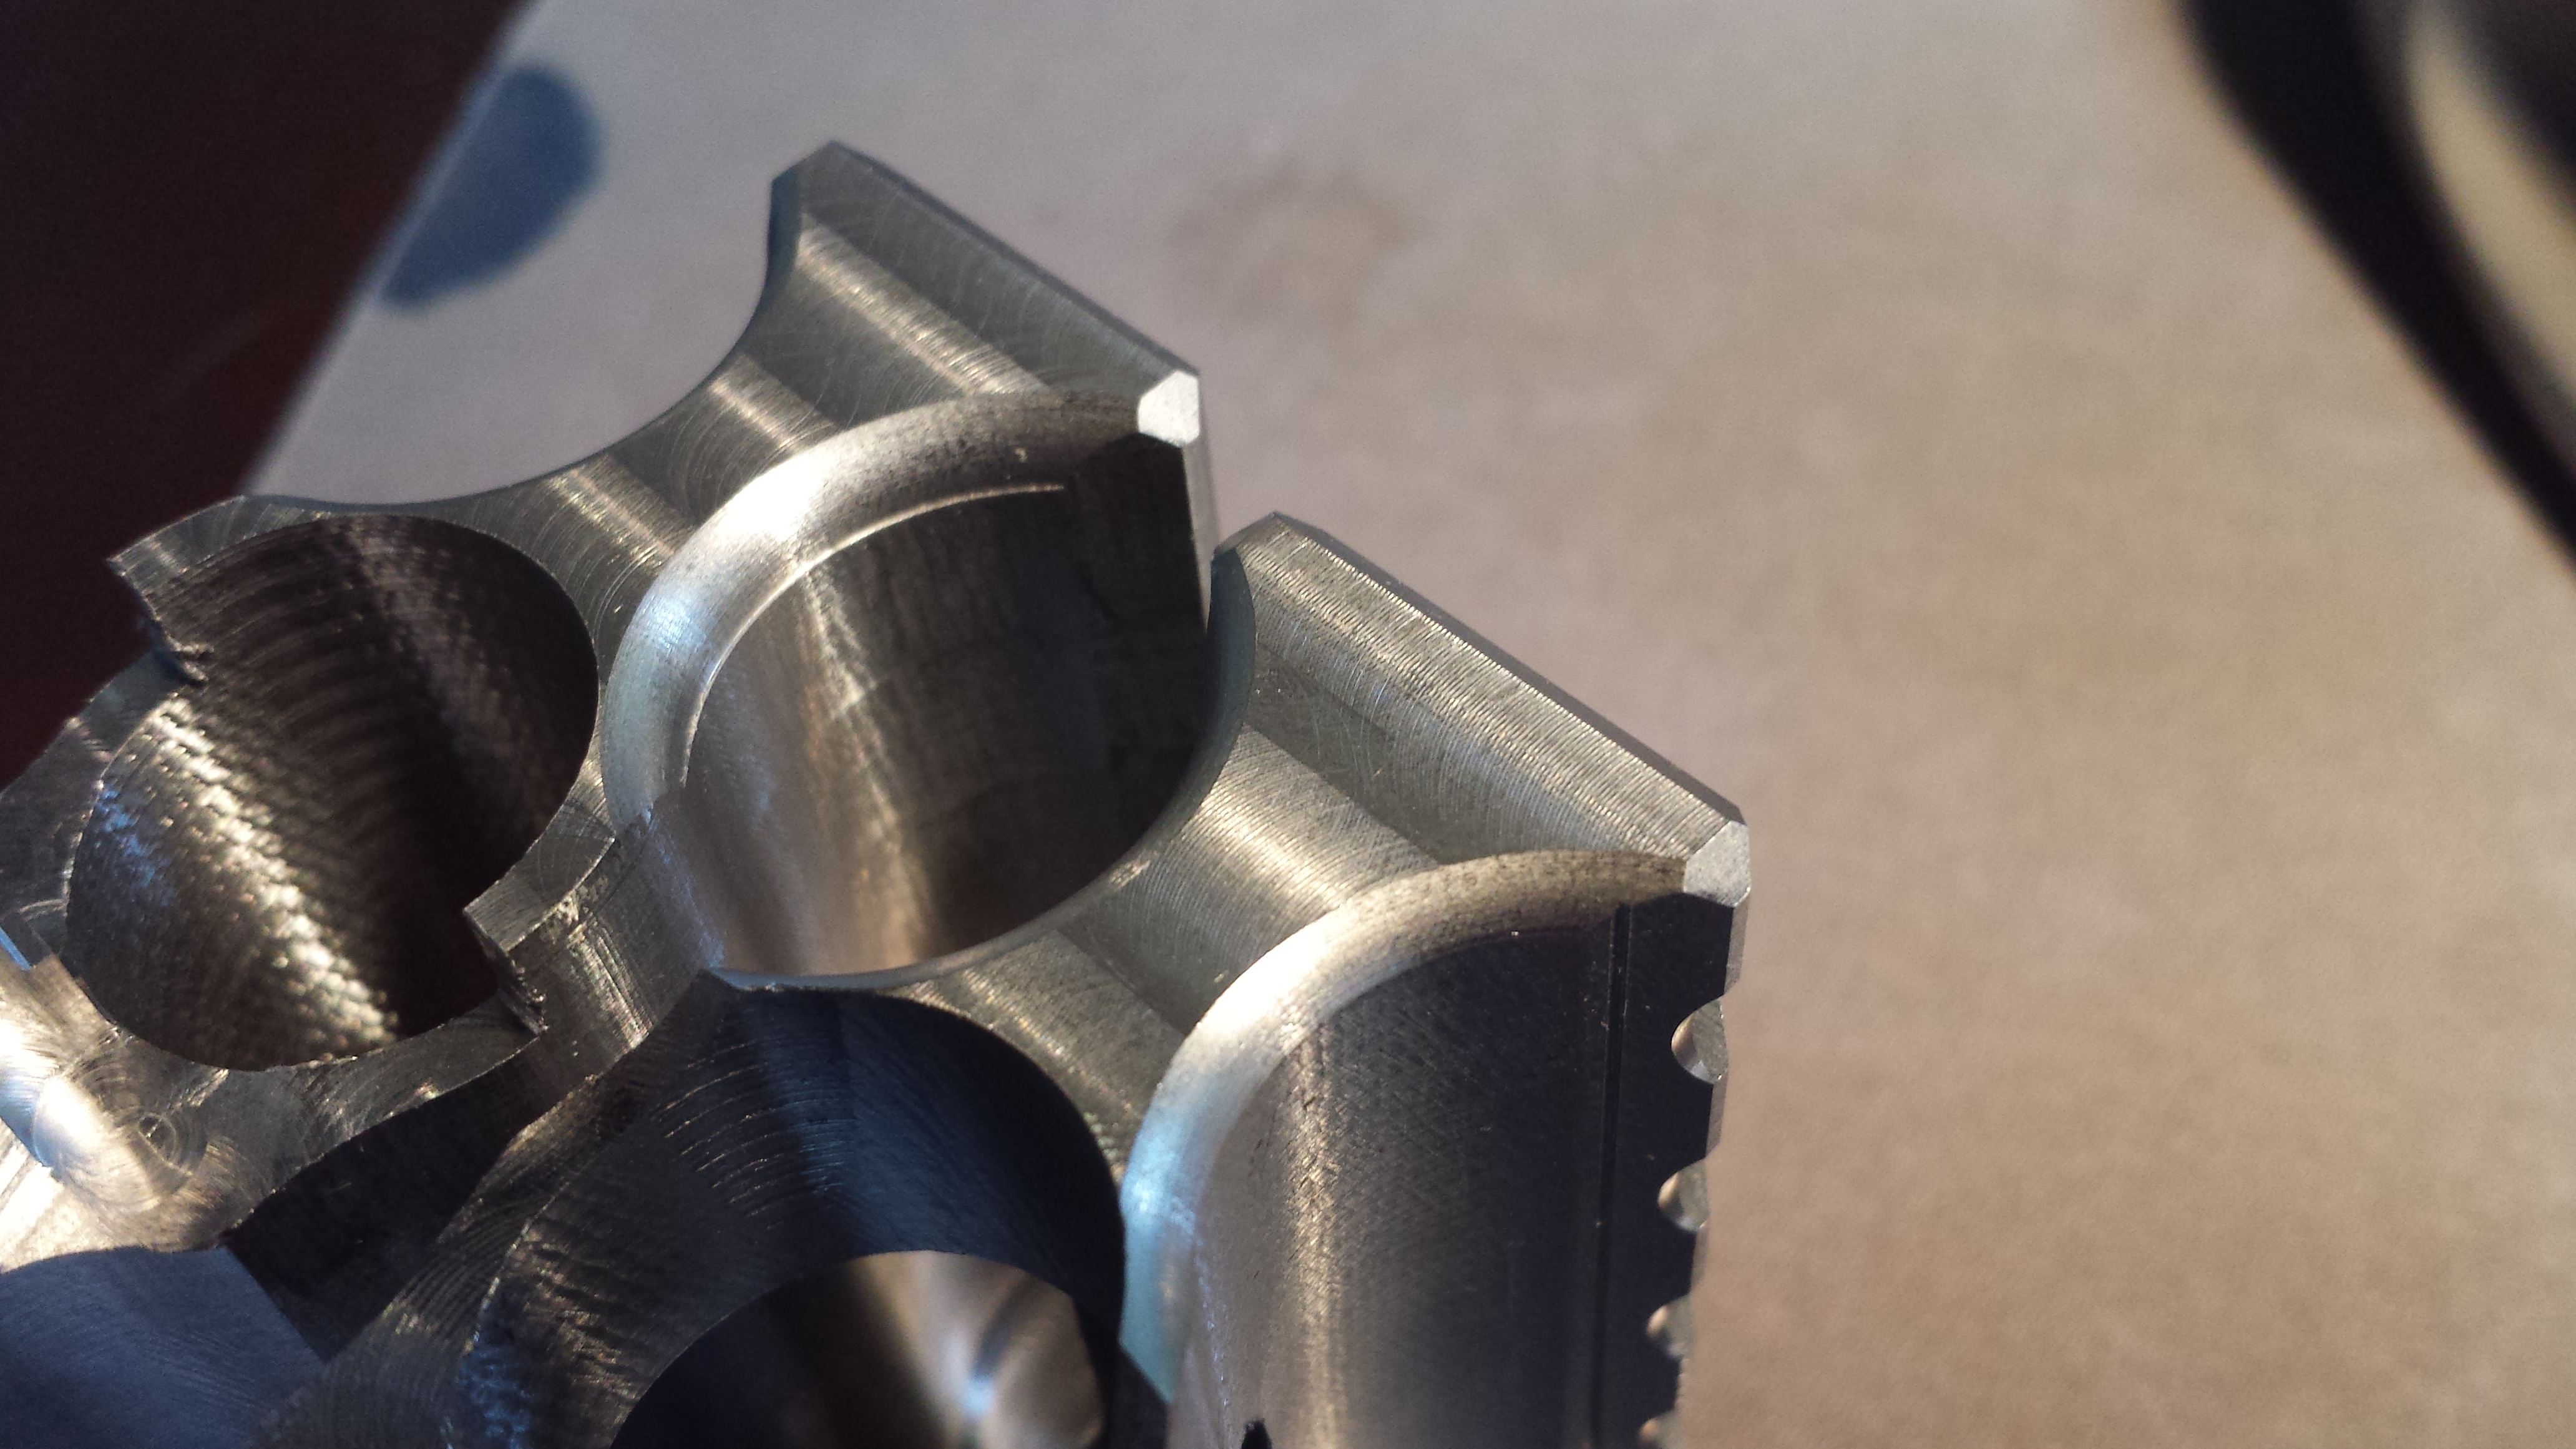
Next was the most disappointing cut and that is roughing out the bore with the long roughing endmill. First I couldn’t seem to get the chatter under control and second the bore was slightly eccentric again in one direction. Even though I can’t see any wobble one explanation is that the radial force is moving the block in the vice jaws. More investigation is required but after carefully examining the more I now think it is simply deflection. The eccentricity is greatest when the tool is engaging the least amount of material. Meaning when in a heavy cut the endmill is deflecting inwards towards the center of the bore Nonetheless I technically bored it undersized by 0.004″ per side as suggested by Carl because I ordered a 0.75″ reamer to try, but after measuring, it is more like 0.0225″ undersized. I’m not sure if you can ream a roughed out bore so I may need to go back and finish mill it. I would love to avoid that step because of the high likelihood of re-cutting those long chips that aren’t readily washed out of the bottom of the hole due to the bolt ledge left behind. At the minimum another “spring” pass around with the rougher I think is in order.
In the left image you can see the eccentricity in the upper left of the bore and in the right image you can see the where this eccentricity is caused by more material removed creating a tool mark where it leaves the cut.
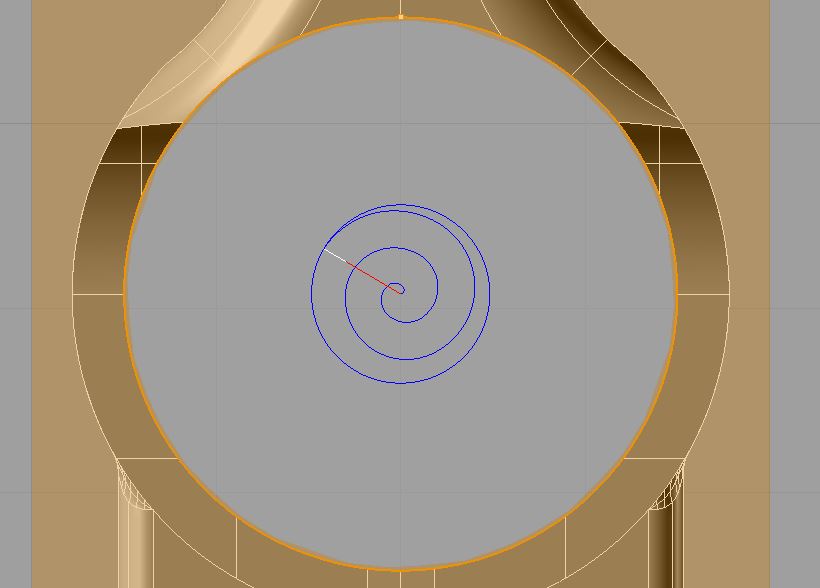
This is most assuredly caused by deflection, if you study the spiral toolpath you can see that the final circular pass has the shallowest width of cut where the eccentricity is observed. The simulation of where the endmill begins the final circular pass also proves this out.
The spiral roughing and profile roughing turned out pretty good. I kept dialing back the RPM until the cut seemed less chattery though it never really seem to completely go away.
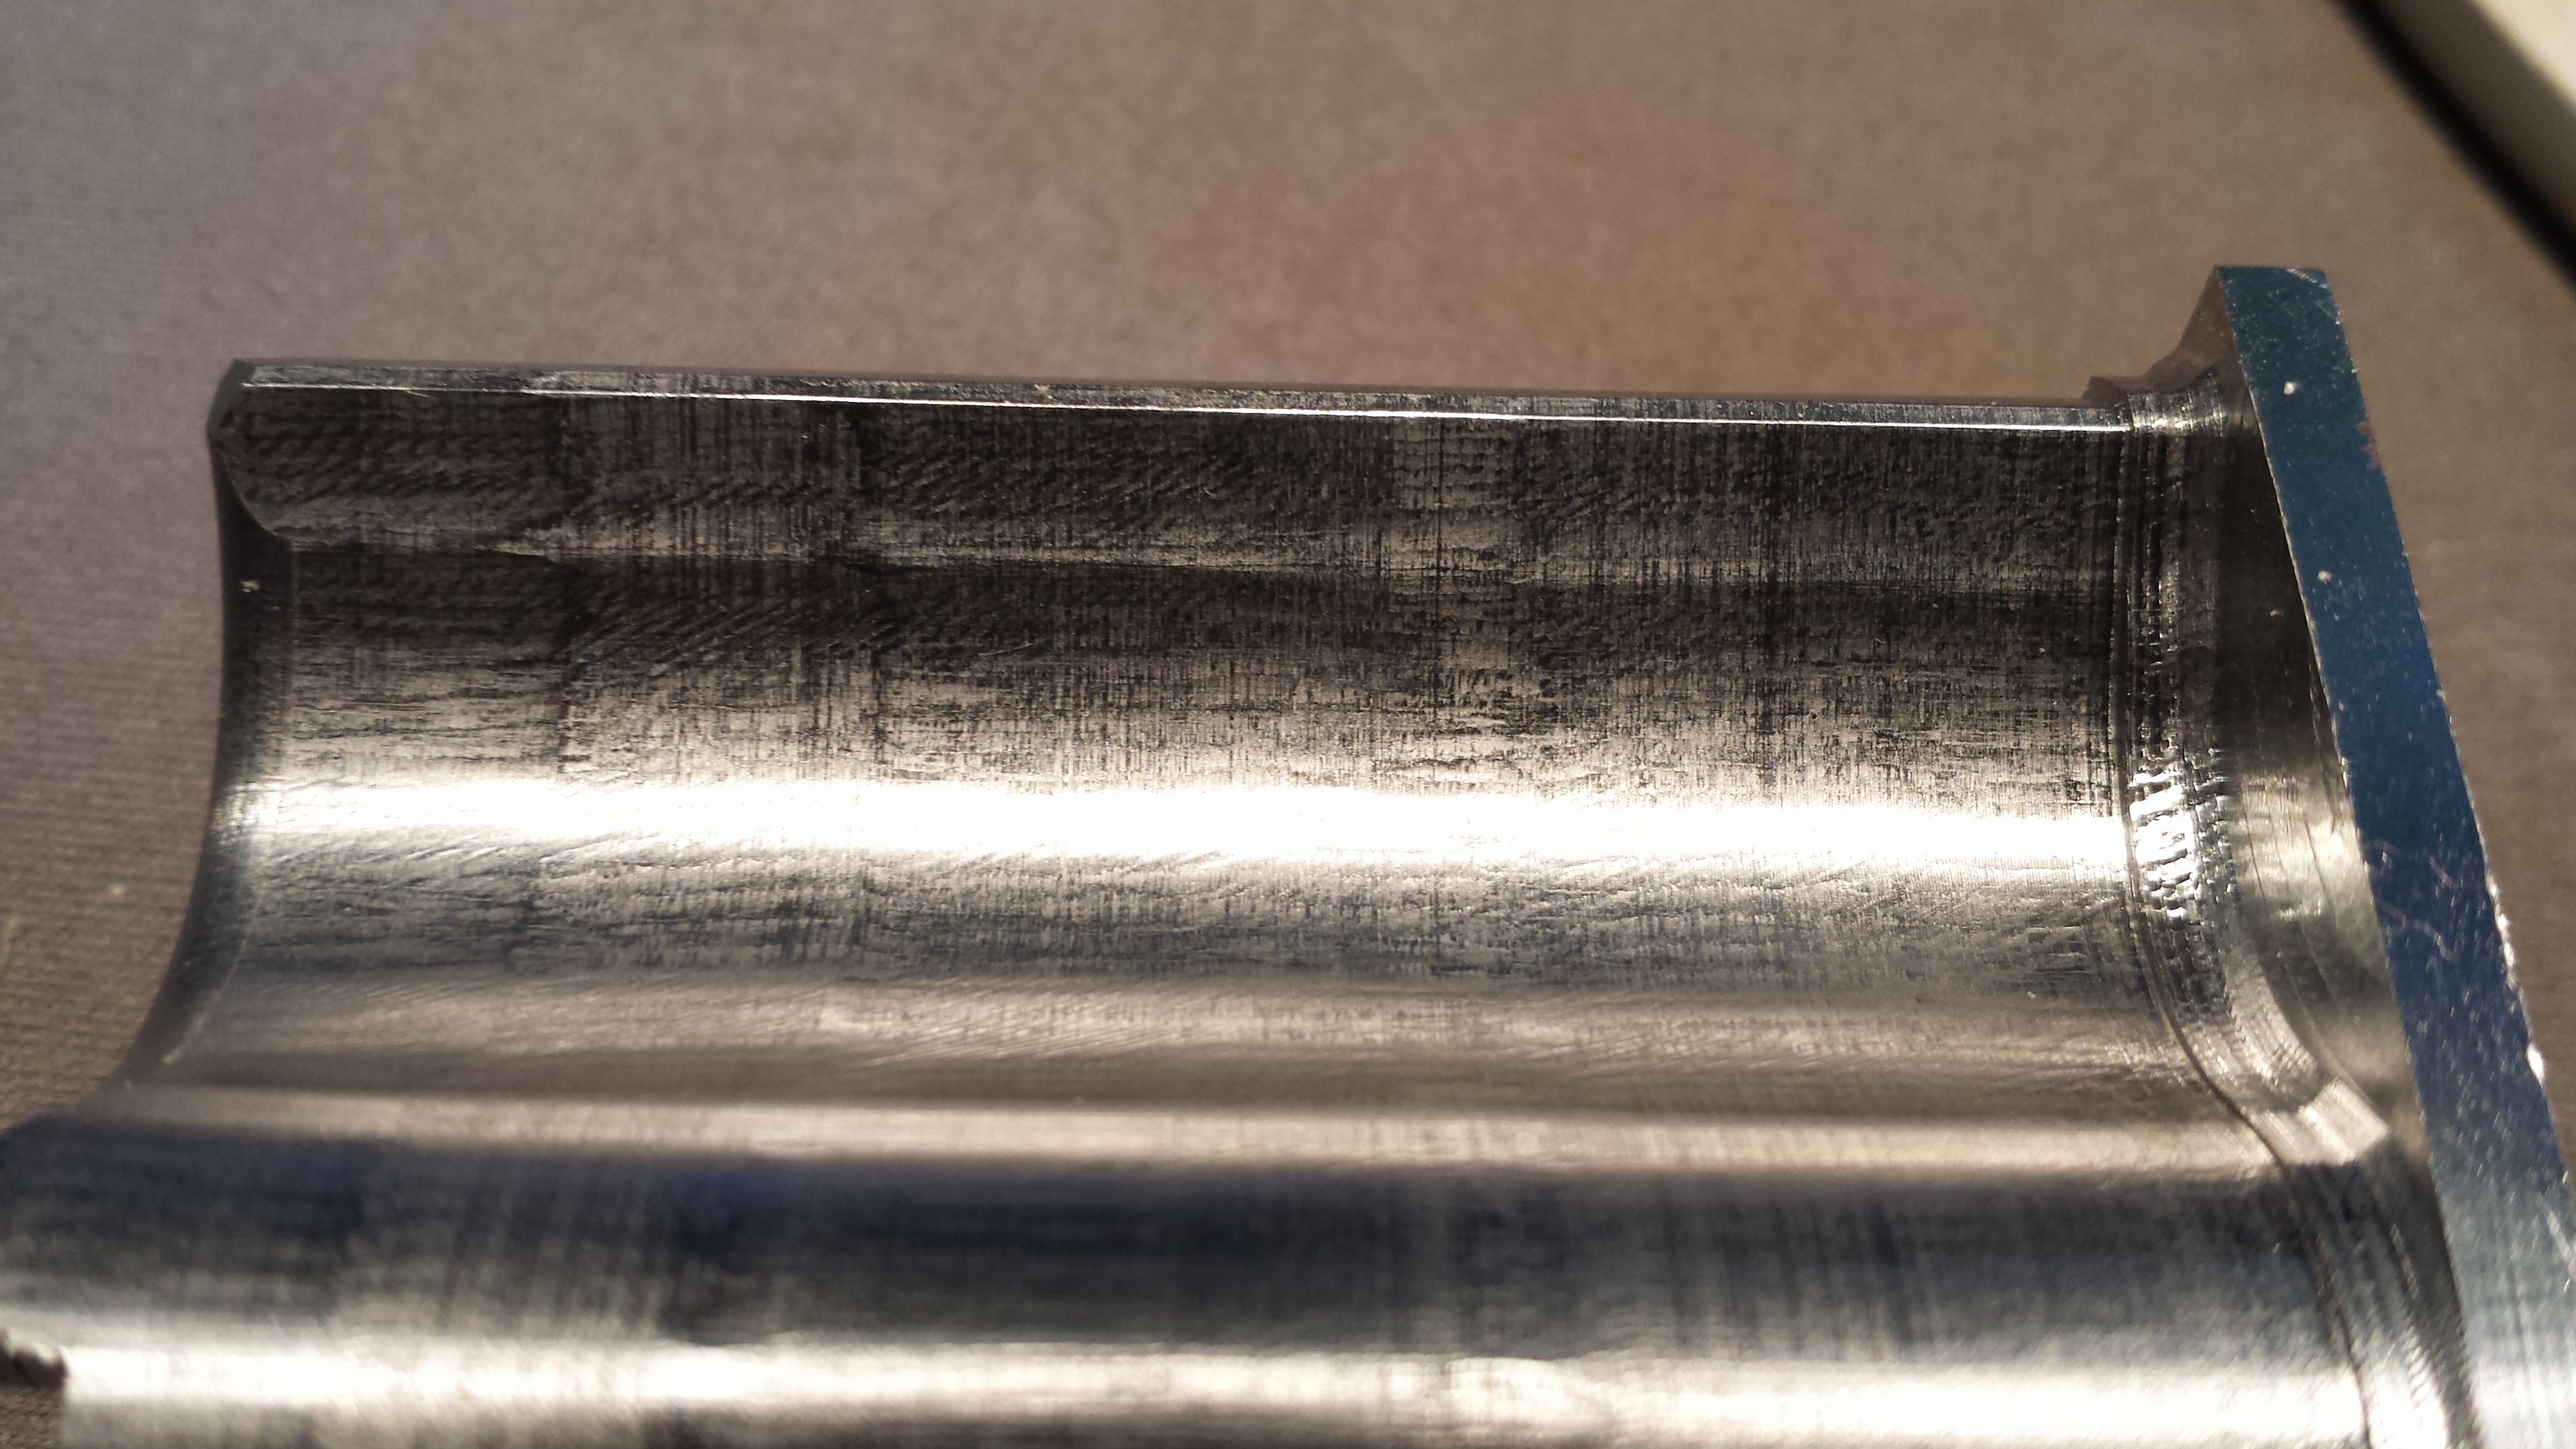
The half depth finishing operations proved to be quite successful given the vastly reduced cycle time and improved surface finish. Again, with this one I just kept dialing back the the RPM until it just stopped chattering. The tool life should also improve since the flute tips are only engaged for 2 passes per part instead of 48 passes as I had it before. The finish left is perfectly acceptable, especially for ultimately being a sandblasted and Parkerized part. A variable flute endmill here would no doubt reduce any remaining chatter and further improve the surface finish.
The finish on the left from the previous 0.05″ DOC and the on the right from the 1.05″ DOC. The finish on the right is smoother and almost devoid of chatter marks. Note that I also stopped the cutter short of the bottom to help preserve the flute tips.
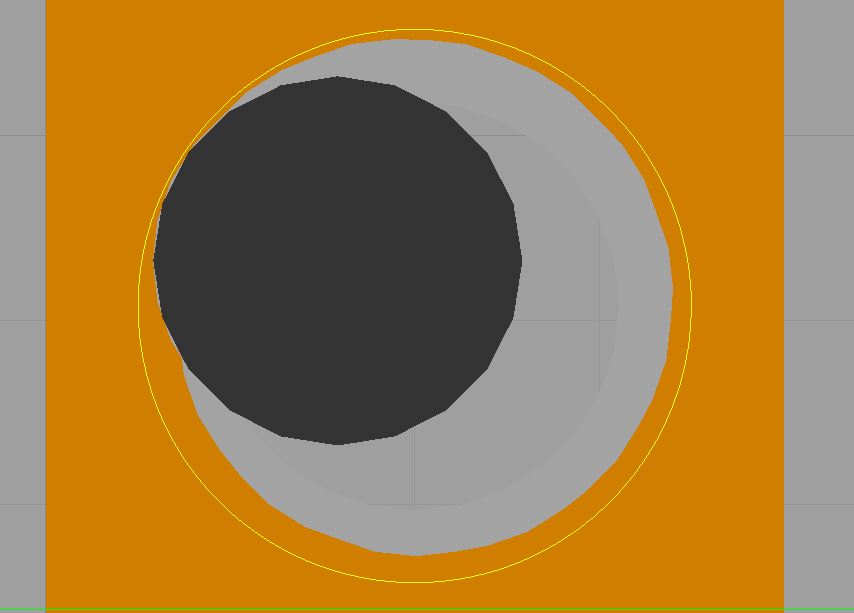
One issue I found was that doing the deeper finish pass must result in considerably more deflection (about 0.0005″ more according to Gwizard) because the profile is slightly oversized from where it should be. There is also likely some deflection of the work piece as well. After measurement, it is almost 0.002″ over sized per side. This is evident when the radius cutter is employed. The slightest misalignment will result in a ridge and I am already offsetting the radius cutter 0.002″ to eliminate the likelihood of this happening.
You can see a ridge produced by the radius cutter on the left vs the right due to deflection of the half depth finish pass.
To counter this I could do a spring pass to clean it up or simply program the finish pass to take a little more. A spring pass would result in more cuts per part but likely be more predictable and accurate.
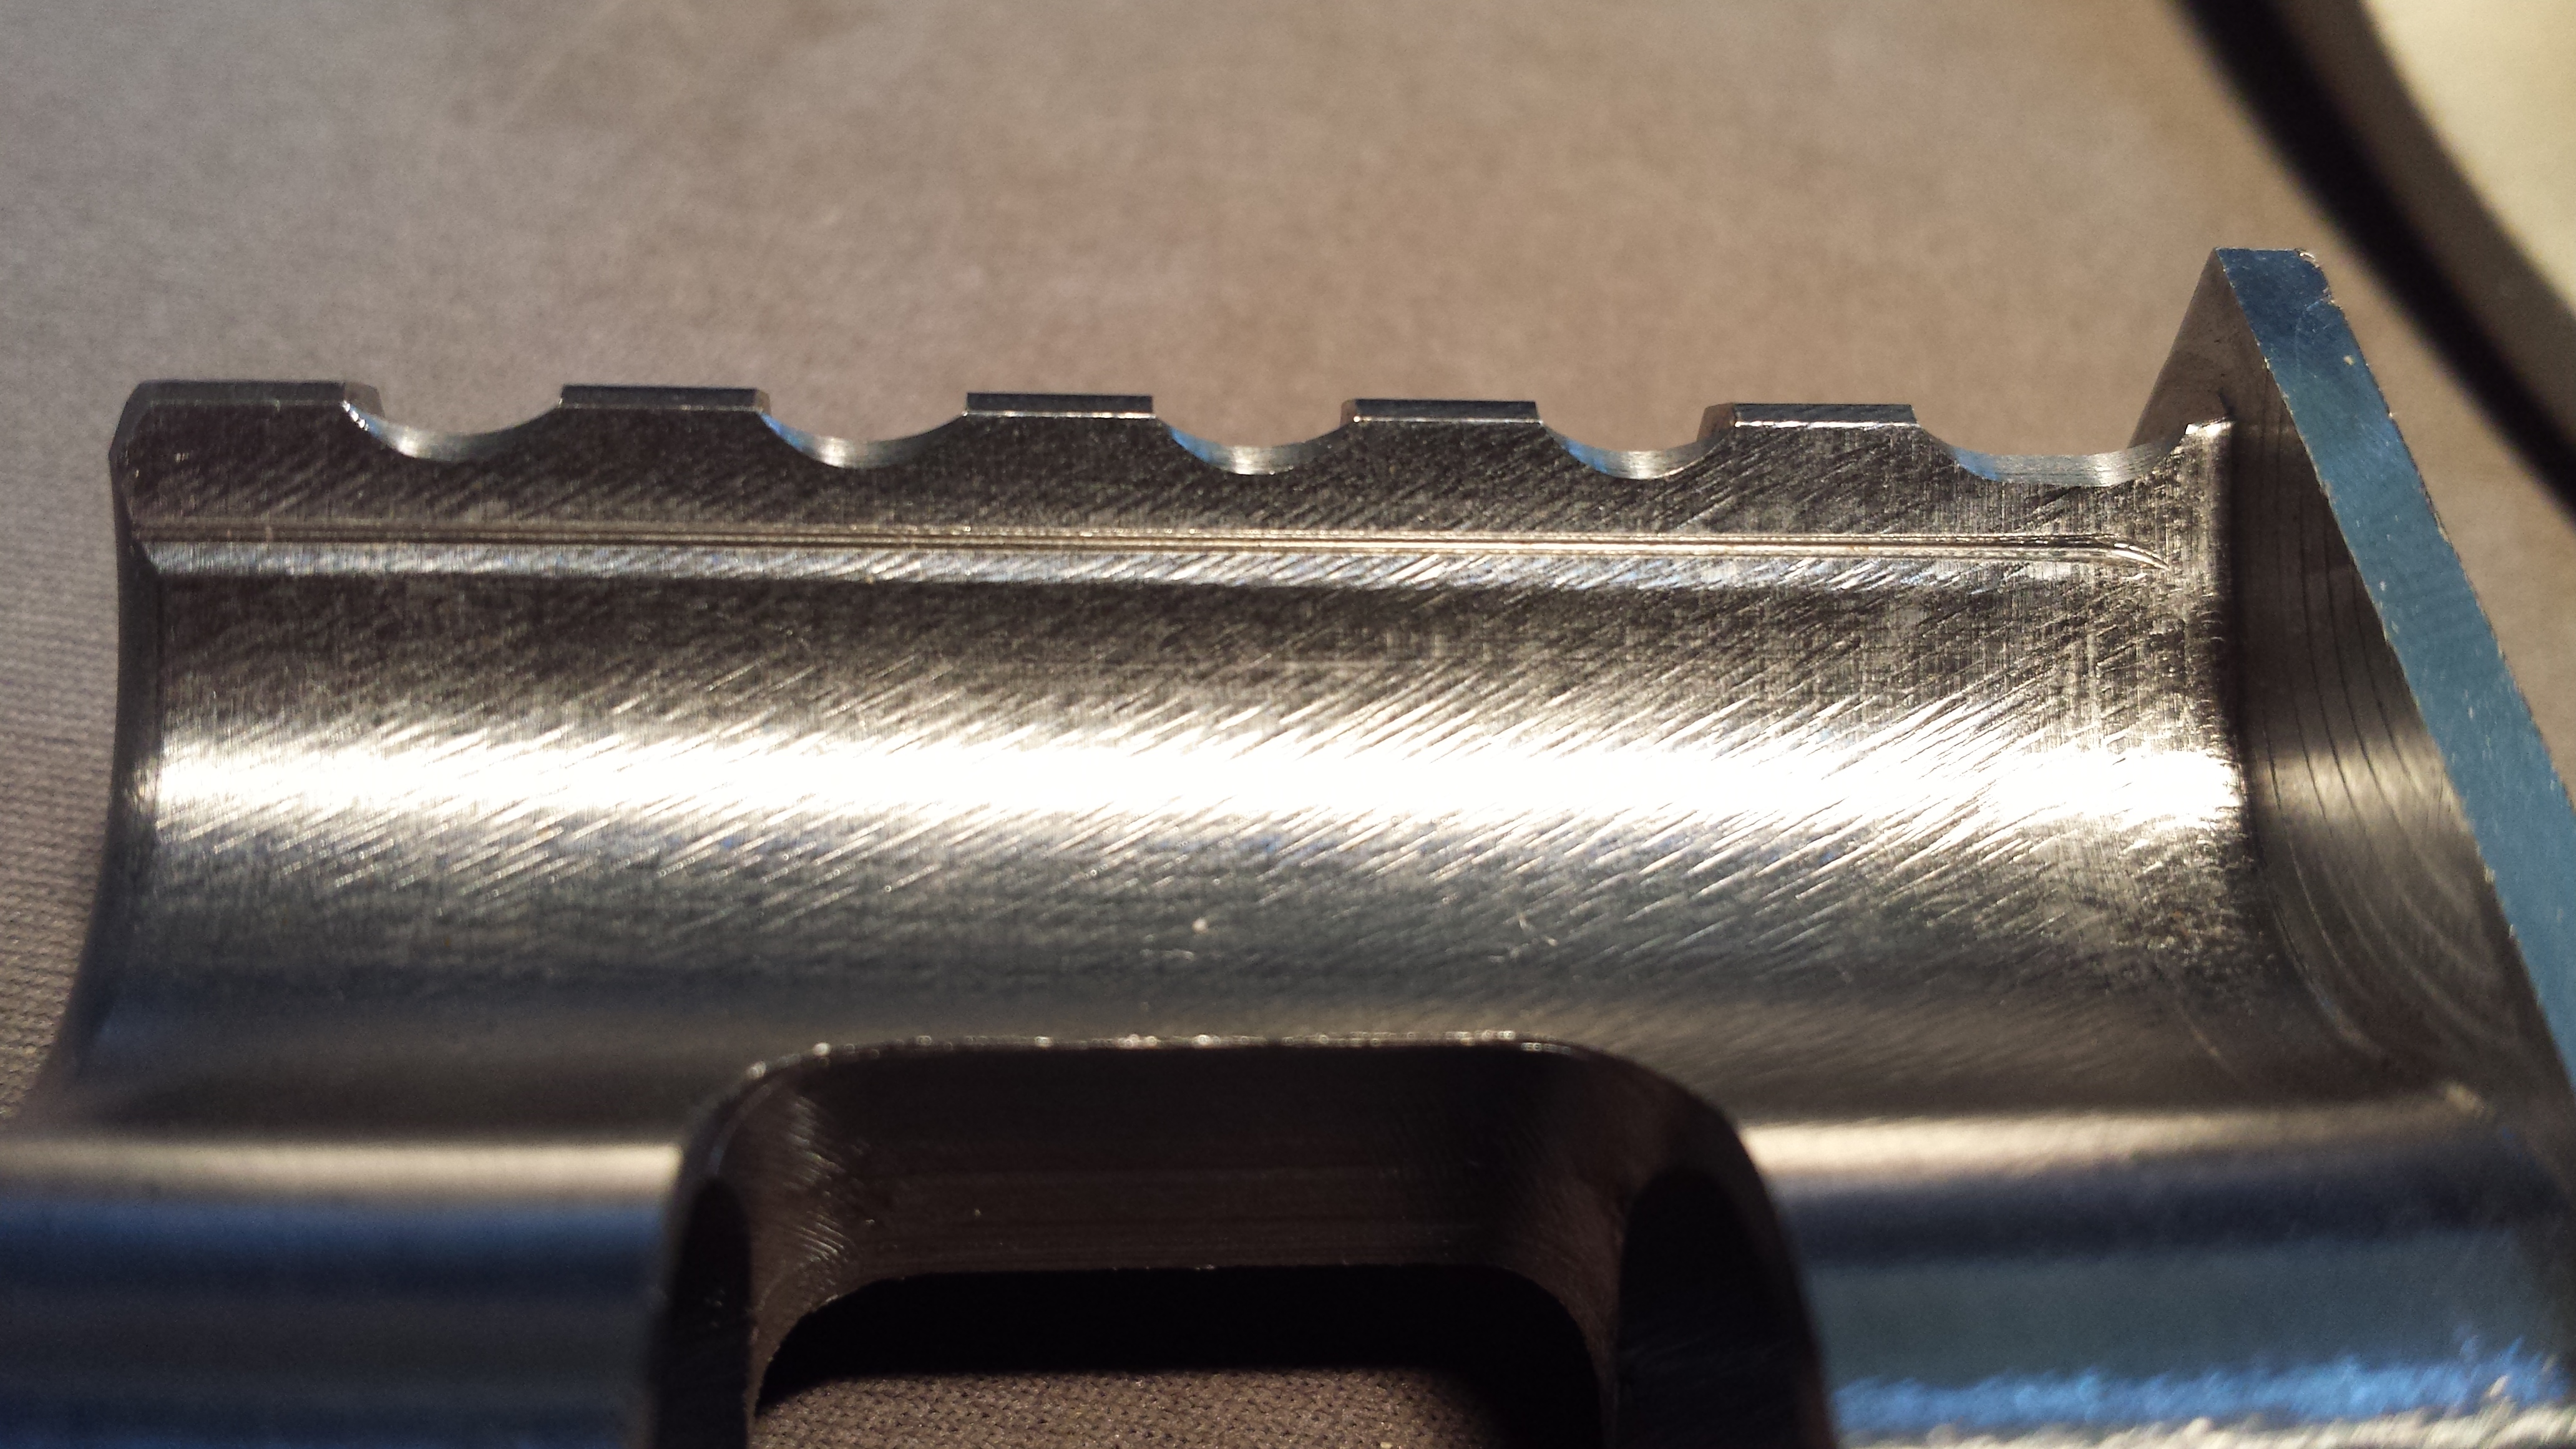
The bayonet cuts turned out superb and I probably wont change anything about those except eliminating the finish pass using the 0.1875″ endmill and keeping the finish passes on the chamfer and radius cuts.
Happy Father’s Day!
Thanks and stay tuned for the next installment.